Teaching is hard. It takes years to learn how to juggle curricular, administrative, management, and instructional tasks all at once. Untied shoes, stomach aches, and unexpected schedule changes thrown into the mix can create a long and unproductive day. So what usually happens when there are technical issues with your classroom equipment? In my experience, teachers tend not use it and go back to more reliable, yet outdated, analog activities. What if you had help? To be more specific, 22 extra sets of hands to manage and maintain your classroom technology?
The answer is simple. Teach your students (yes, even the littles) basic skills that become part of your classroom routine. Here’s just a few examples of how they can help take some things off your plate:
- Explore new iPad apps and teach the rest of the class using your Document Camera or Reflector
- Make sure mobile devices are plugged in and charging
- Organize laptops and untangle cords in carts
- Dust power cords and smart boards
- Update apps (unless it asks for your apple id password)
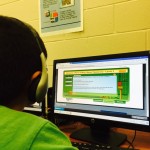
- Help other students who are struggling using a device during a lesson or station
- Unplug and replug the Smartboard when it loses interactivity
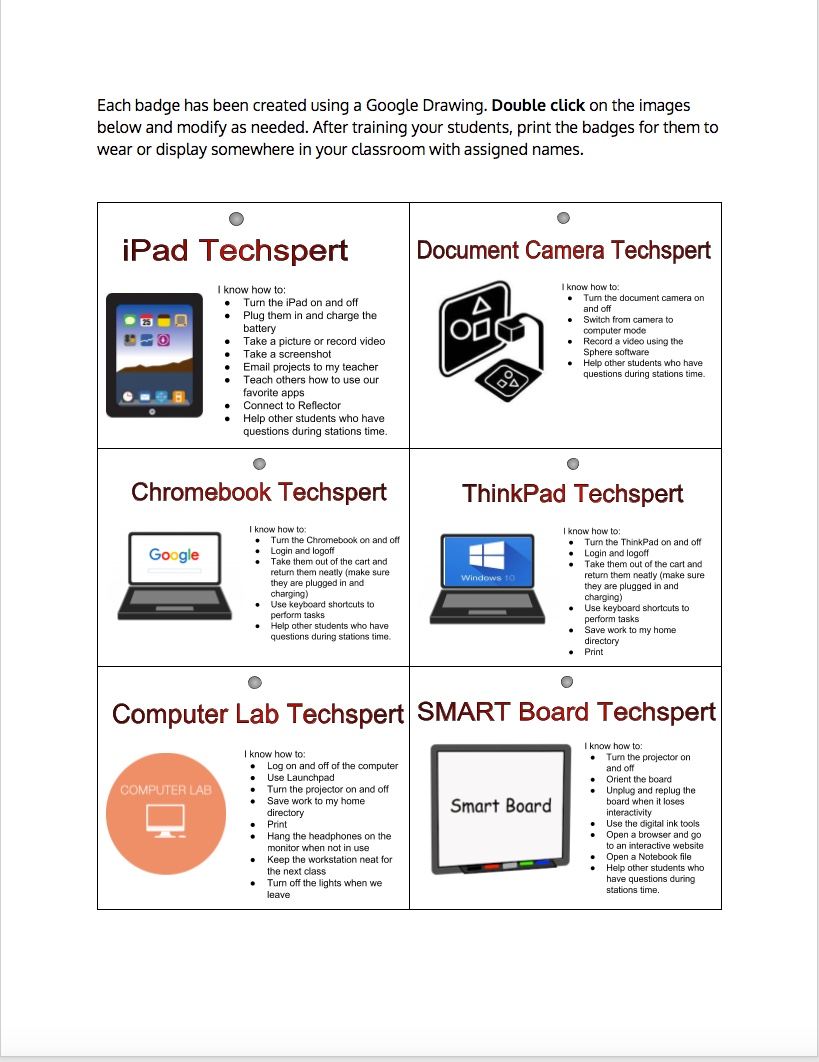
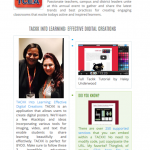
By identifying your classroom “Techsperts”, you not only have more time for actual instruction, you are allowing the students to take ownership of THEIR digital tools. Take some time to train a small group of students the basics of whatever you have access to in your classroom or computer lab. Rotate your “Techsperts” on a weekly or monthly basis so all students have the opportunity to be class leaders. Below you will find a set of Techspert badges that you can print and laminate. It’s a Google Doc, so feel free to modify the content to fit your needs. Click here to make your own copy.